 |
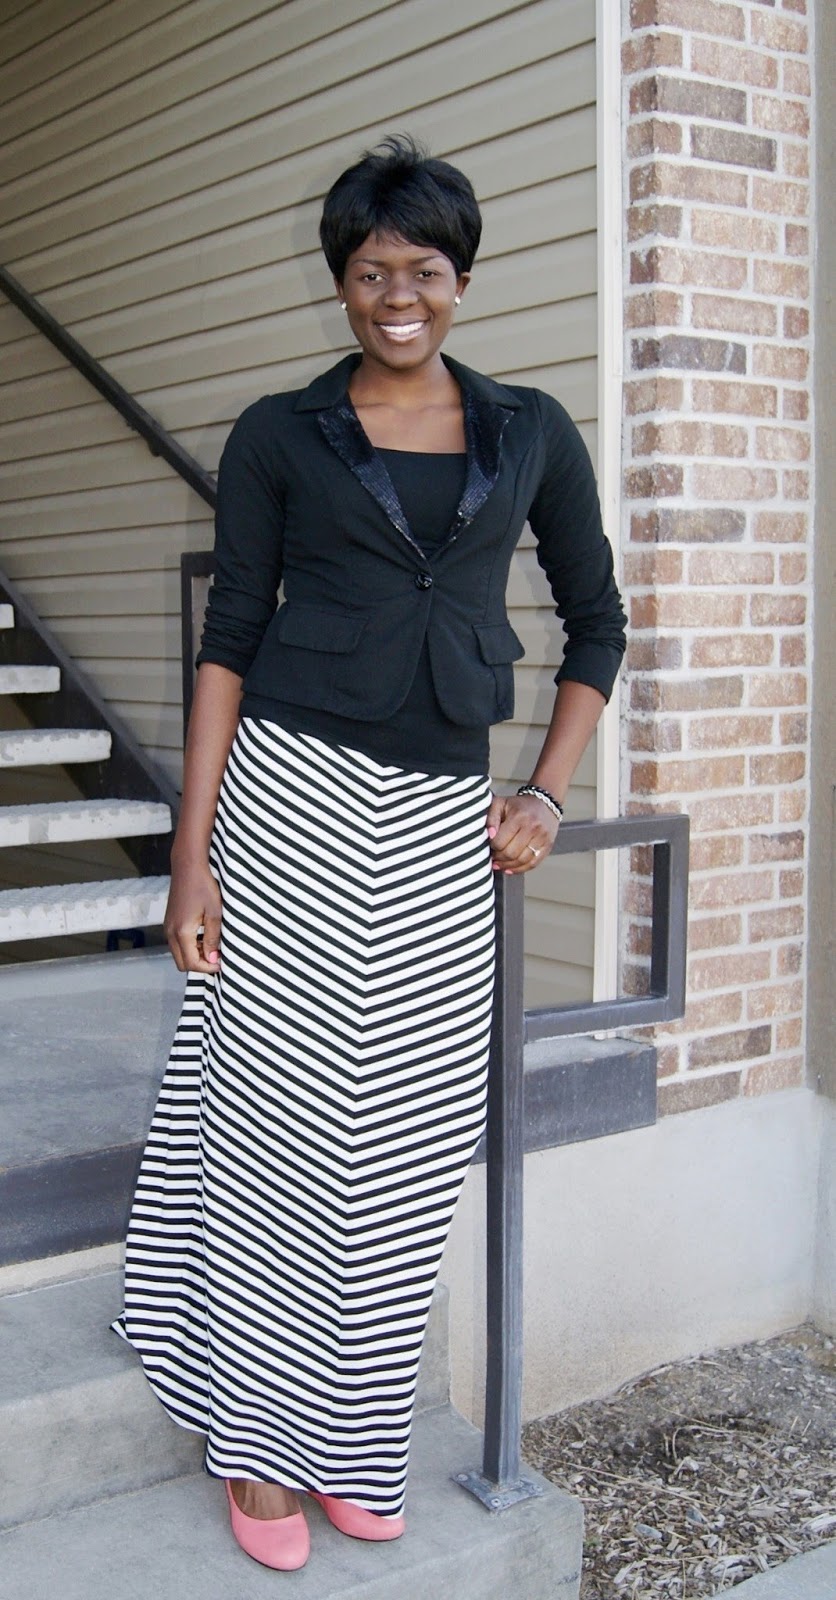
| I have worn this outfit twice already, I am loving the skirt. I have always loved color but I LOVE black too so it ends up in most of my outfits:) I had to throw in some colorful shoes so it didn't seem like I was going to a funeral. |
 |
| It was so windy when I took these pictures, you can't really see the shape of the skirt. It's the same as here. It cost me about $12 to make the skirt. I bought the fabric on sale from fabric.com. They don't have this particular color anymore. It's ponte roma, my favorite knit for maxi skirts. They had tons of stripe fabric, I got too excited and ended up buying a couple more knits to make a dress and a few more maxis. I shall post them here as I get done. |
2 1/4 yards Knit fabric (am 5'11" tall so I needed some extra fabric to make this design work) So buy your fabric accordingly.
Elastic
Thread
Scissors
Sewing machine:)
1. lay your fabric flat.
2. Fold it in half, hotdog style (the wrong side of the fabric facing each other, so the right side facing up)..
3. Then fold your fabric in half (hamburger style). At this point, you should have 4 pieces of fabric.
4. Take your waist measurement, divide it in 4. Even though my skirt stretches, give allowance for the skirt to be able to pass through the hips. For example, waist is 36", add 4 inches etc (depending on your hip size) Then divide your total 40" by 4 = 10". Therefore, 10" is how wide the waist will be on each piece. Arrange your fabric at an angle, as shown in picture #4. Make an outline with a piece of chalk. Both sides = the length of your skirt from waist to ankles (In the length of the skirt have 1/2" seam allowance at the bottom and about 1.5" for the elastic at the waist.With the width of the skirt at the bottom, I measured it the same as here.
5. You should have 4 pieces of fabric once you are done cutting. Then arrange them as shown and sew the pieces together.
 | |
| Wasn't too hard as you can see from the smile on my face |
Linking up to:
The 36th Avenue
Skip to my lou
Sew chatty
That DIY Party - DIY show off
Red fly creations

Thanx Elise. These skirts are awesome to have. All the best:)
ReplyDeleteVery nicely done! Thank you so much for sharing. I have been wanting to make one of these. I think I'll just use your pattern. I love the way you put this together. Our Simply Create Link party is going on right now. I would love to have you link up, as I'm sure my followers would love to see what you created too. Hope to see you soon!
ReplyDeleteMelissa
redflycreations.com
Thanx Melissa. I shall surely link up. Thanx for the invite. Please let me know how your skirt turns out:)
Delete